DIY Metallic Mason Jars.
I did a craft I did a craft I did a craft!
This… is huge. For me. You know it.
So. My brother’s girlfriend, Mary, is super crafty. All those amazing things on Pinterest? She can make them. And she does.
We were trying to decide what we could do while the boys were out together and we settled on crafts. I mean, mason jars and glitter? Color me sold.
We started off with these rose gold (uh, remember when it was COPPER?!), gold and vintage-y looking mirrored mason jars. Most of these are iPhone photos but are pretty true to color. We also did a few colorful ones (hello neon) and I did my own winter white ones later, which I’ll share tomorrow. Who am I?
[P.S. Mary pinned this idea which linked to this site.]
So here’s how we did it!
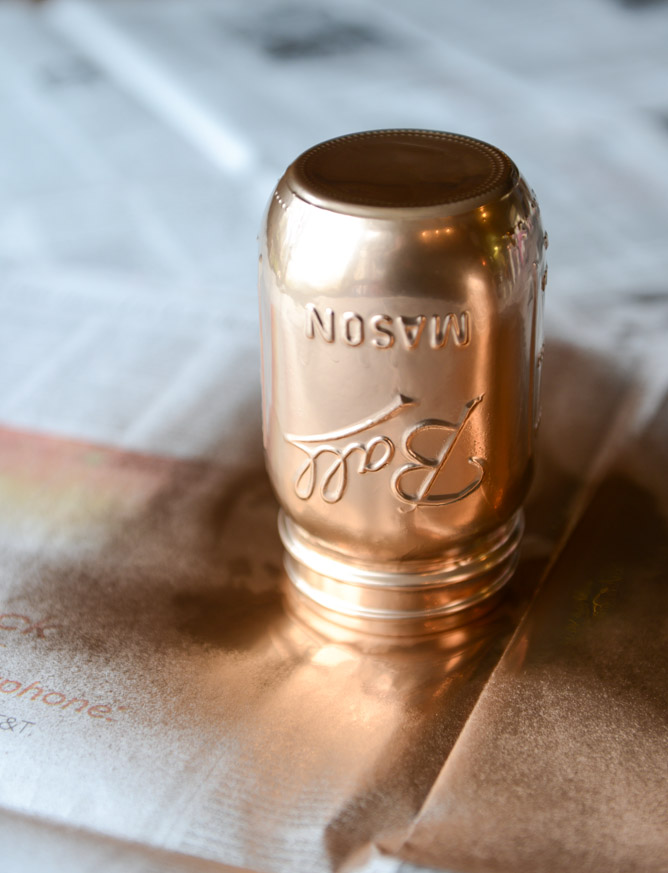
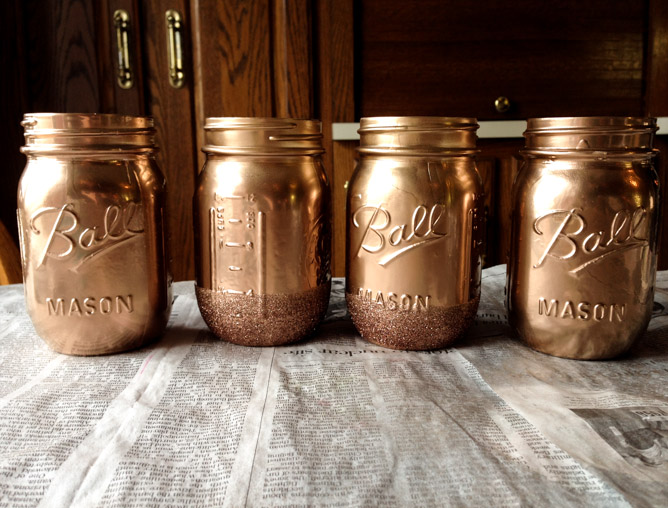
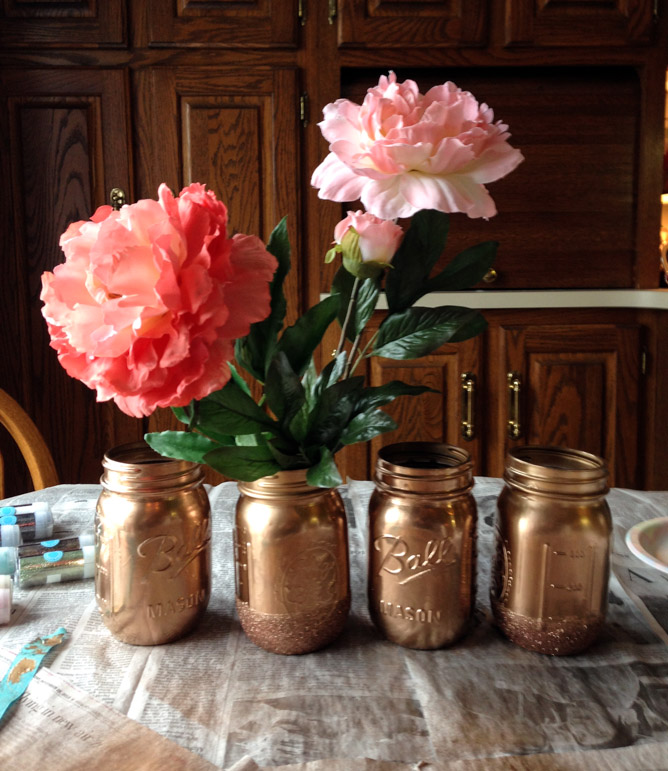
For the coppery/gold ones, we used Krylon general purpose spray paint in gold and Krylon premium copper foil metallic spray paint. We found both at Pat Catan’s, but I’d think you could also find them at Michaels. Here’s the thing – when they are both in front of you? They look exactly the same. You can’t even tell a difference in color. Now, a few photos here may show a slight difference due to the light, but if you scroll down to the last photo? There are two copper jars and two gold jars. Can barely tell a difference, right? Just food for thought.
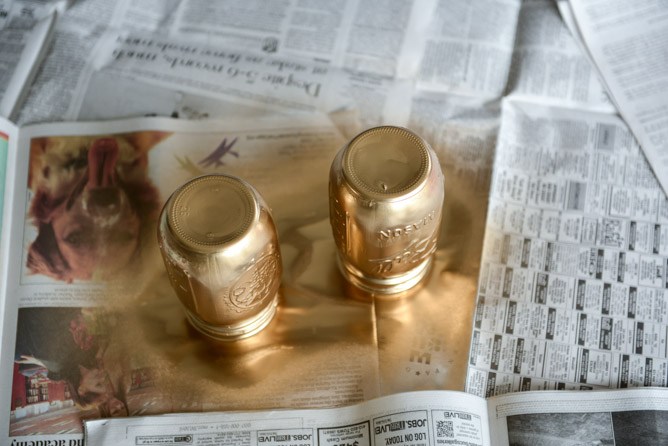
Out of all of the colors we did, these ones turned out the best. The paint didn’t run very much and we only needed one or two coats. We threw the jars down on newspaper open-side down, stood back and sprayed them. They dry in about 10 minutes and there you go! Just don’t get too close while spraying or else you might have lots of visible drops and runny paint.
[see? they look more gold below. but in real life… no.]
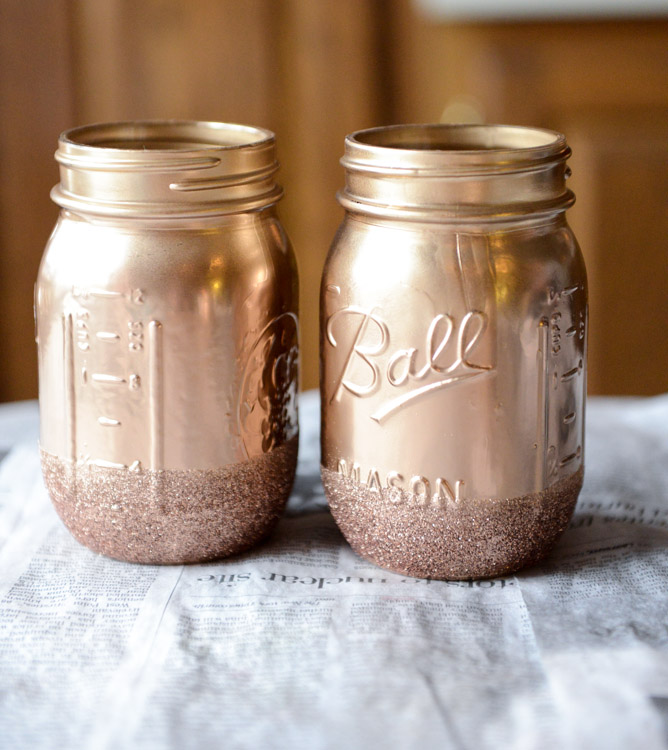
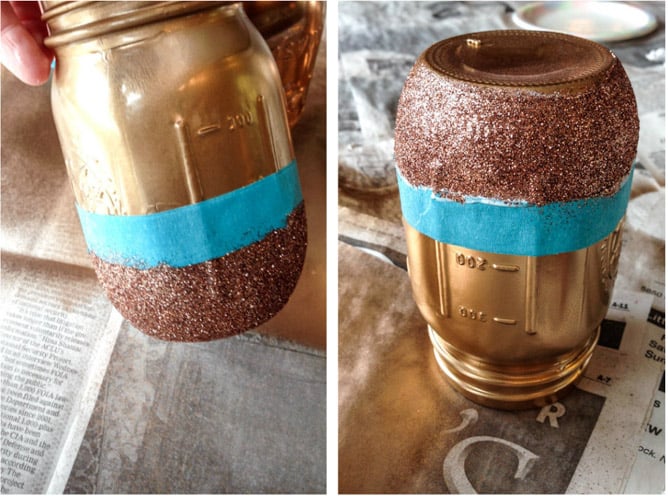
Next, we threw some tape around the center so we could add glitter to the bottoms. You can obviously add glitter anywhere – tomorrow you will see how I did a stripe in the middle and glitter from the top down. But the bottoms are by far my favorite. After taping it off, brush on some modge podge, shake your glitter on top and tap off the excess.
When you remove the tape, you might have a few bare spots where it ripped some paint chunks off. With the metallics, this is no big deal because you can just add a little more spray paint to cover it up and it won’t ruin the glitter.
I’m pretty much in love.
[can you tell the different between gold and copper? one of each is in the center with the same glitter on the bottom.]
Another note – I do wish we made the glitter bottom a bit larger. I will probably fix that.
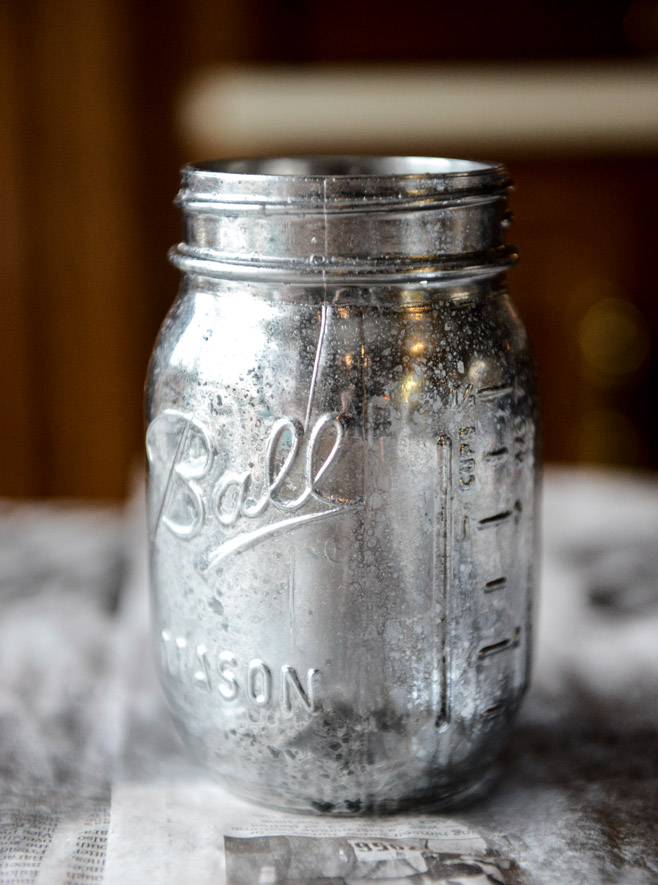
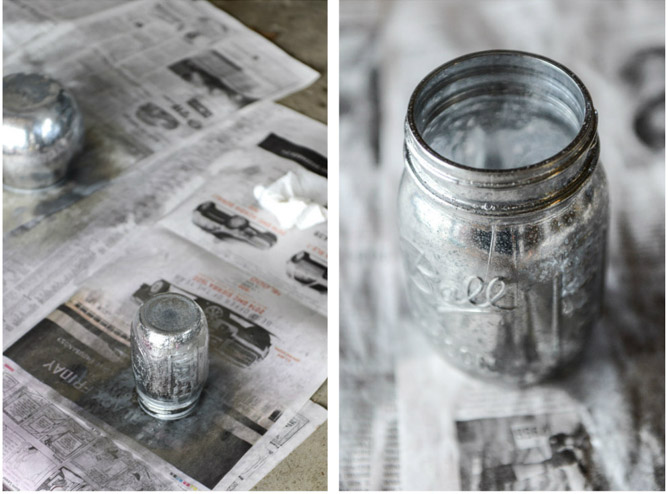
While I worked on those gold ones, Mary made these mirrored jars below. I can’t get over them! She found the idea here and pretty much followed those directions. You can see on the far left that she also made a vase. So pretty.
For these, she used the Krylon mirror-looking spray paint. Again, it dries super fast. She put an equal amount of water and vinegar in a spray bottle, stood back and sprayed the jars, then coated them in the mirror spray paint. The next step is to blot the water dots with a paper towel, and repeat over and over. I can’t even guess how many coats she did of this – at least five or six? Maybe even more. It’s still super easy though.
So that’s that! Down below I threw some flowers in the jars just to give us an idea of what it would look like. I want to use them for everything. So obsessed. Wouldn’t these make the most awesome holiday gifts?! I’m also thinking makeup brush holders and pen holders and all kinds of stuff like that. And I made some larger jars which I may love even more… but I’ll show you those tomorrow. Yeah. Me and crafts!
If we’re being honest though, you know this glitter was the driving force behind my crafting. Duh.


79 Comments on “DIY Metallic Mason Jars.”
Pingback: Having Fun With Copper Spray Paint – 11 DIY ideas
Pingback: Christmas Themes – Ideas For 2015 | Planning With Kids
what kind of flowers are these?
Ahh these look lovely, I’ve been looking for some of these for ages and cannot find any anywhere but now I think I will do them myself!! x
Pingback: 6 Easy Tutorials to Up-cycle Glass Bottles and Jars - Just Right Apricot
Pingback: 9 Super Creative DIY Home Decorating Tips – Tools for real Guys
Pingback: Wedding Color Inspiration: Rose Gold - Wedding Bags
Pingback: New Years Eve Party Ideas From Pinterest | StyleCaster
Pingback: 20 Easy, Festive New Year’s Eve Party Ideas - Crystal De Beauty
Pingback: 20 Easy, Festive New Year’s Eve Party Ideas – Living Healthy Digest
Adore this idea! Now I know what to do with those canning jars I only used once! Genius! ?
Pingback: New Years Eve Party Ideas From Pinterest | StyleCaster (STAGING)
Pingback: 20 Easy, Festive New Year’s Eve Party Ideas – Fashion Magazine – Cometrend
Pingback: 15 glitzy and glam New Years party printables, DIYs and decorations
Pingback: 15 Glitzy and glam 2017 New Year’s party printables, recipes + DIY decorations to help you kick 2016 out the door – Viraw
Do you find that the paint scrapes off easily. For instance, I did this for a wedding and then transported them. Where they scratched each other in the box, the paint scratched off. Any idea?
Sara
Pingback: Having Fun With Copper Spray Paint – 11 DIY ideas - Home Decorating DIY
Beautifully creative, thanks so much for the share!
Pingback: Foolishly Real Looking Copper Paint Dipped Planters
Pingback: 20 New Year’s Eve Party Ideas That Are Festive and Easy | ufontus
Pingback: 20 New Year’s Eve Party Ideas That Are Festive and Easy - Trendy Fashion Tips
Pingback: New Years Eve Party Ideas From Pinterest - Girlzhub
Pingback: 20 New Year’s Eve Party Ideas That Are Festive and Easy – Girlistan
Pingback: Gifts that come from the heart – Tiger Times
Pingback: DIY Easy and Unique Mason Jar Crafts
Pingback: 9 Super Creative DIY Home Decorating Tips | Diyadopt
Pingback: mason jar makeovers for grownups for decorating on a budget