Skip to Main Content
Submit
Home
Recipes
Appetizers
Breakfast
Lunch
Dinner
Drinks
Dessert
Weekly Menu Ideas
Browse Recipes
Recipe Index
Shop
My LTK shop
Crumbs
Cookbooks
Fun
Crushing On
Summer Fridays
Book Club
Reading Lists
About
Contact
FAQs
Pinterest
Facebook
Instagram
Twitter
Home
About
Contact
Submit
Pinterest
Facebook
Instagram
Twitter
Recipes
Appetizers
Breakfast
Lunch
Dinner
Drinks
Dessert
Weekly Menu Ideas
Browse Recipes
Recipe Index
Crumbs
All Crumbs
Favorites
Tuesday Things
Cookbooks
NEW! Easy Everyday
Everyday Dinners
The Pretty Dish
Seriously Delish
Fun
Gift Guides
SHOP
Reading Lists
Crushing On
Book Club
Summer Fridays
Shop
My New Cookbook:
order yours today »
Home
»
Archives for November 2011
Month:
November 2011
How To Make Baklava.
Tuesday Things.
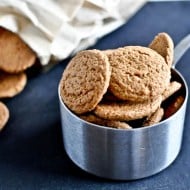
Gingersnap Crusted Salmon.
What Are You Baking for the Holiday Season?
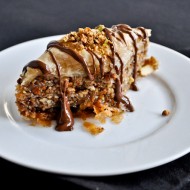
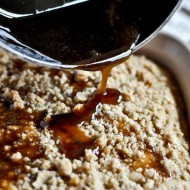
Eggnog Breakfast Crumble Crunch Cake.
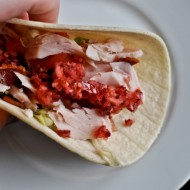
BLT Turkey Tacos with Cranberry Salsa.
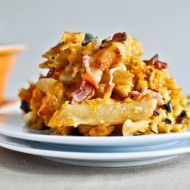
Day After Thanksgiving Breakfast Hash with Cheddar Mashed Potato Pancakes.
Turkey Day Moments.
Gobble Gobble.
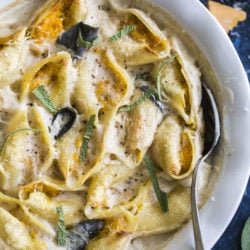
Butternut Squash Stuffed Shells.
Tuesday Things.
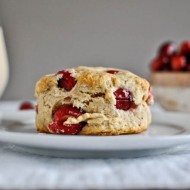
Cranberry Whole Wheat Buttermilk Biscuits.
I Sorta Did a Little Craft.
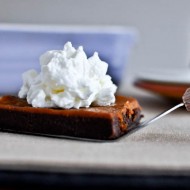
Pumpkin Pie Fudge Brownie Bars.
Weekend by iPhone.
A Billion Thanksgiving Recipes. (Or… uh… 101.)
Double Bread Stuffing with Brown Butter, Bacon & Sage.
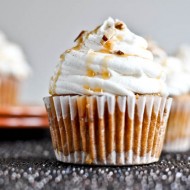
Sweet Potato Pie Cupcakes with Marshmallow Frosting.
Caramelized Pear, Squash & Parmesan Noodles.
Tuesday Things.
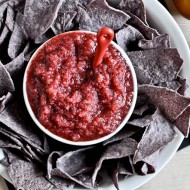
Cranberry Pear Salsa.
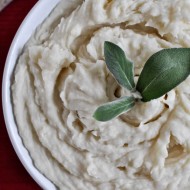
Brown Butter Mashed Potatoes.
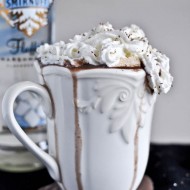
Grown Up Hot Chocolate with Homemade Bailey’s Marshmallows.
Roasted Butternut Baked Penne.
More:
1
2
Next »
Submit